Dissolved oxygen and electrical conductivity sensors need to be calibrated in the lab before deployment. Directions are presented below for both types of sensors.
Materials
- Arduino IDE installed on a computer
- Mayfly data logger (or similar arduino that can run ModularSensors)
- MicroUSB to USB cord
- Atlas Scientific PCB carrier board
- Properly connected Atlas Scientific Sensors
- Appropriate calibration solutions
- Calibration instructions(DO and EC)
- Code (see Github)
Setup
- Disconnect solar panel and battery from the Mayfly
- Connect sensors to data logger via the Atlas Scientific carrier board
- Connect data logger to computer using the USB-MicroUSB cord
- Open the Arduino IDE and open the code corresponding to the sensor you wish to calibrate
- Turn on the data logger
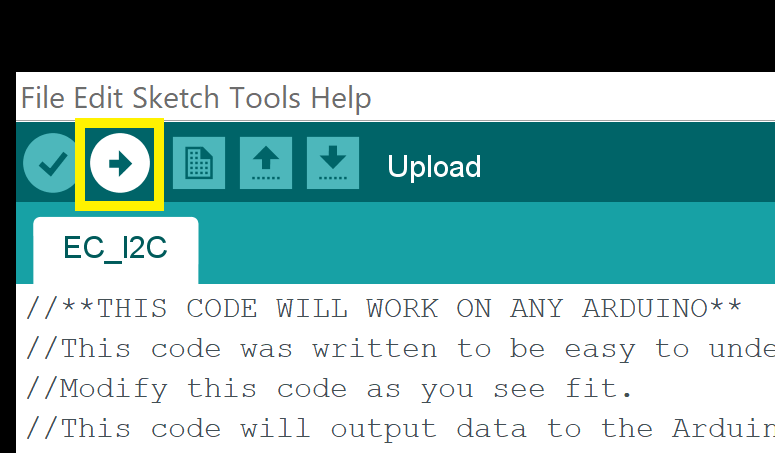
Upload code to the data logger using the
Uploadarrow in the upper left of the Arduino IDE
Once uploaded, open the serial monitor by clicking icon in the upper right of the Arduino IDE.

When the serial monitor window opens, click the dropdown box in the bottom right and change the baud rate value to 9600. Make sure that the other box is set to
Carriage Return.Follow the calibration protocol shown below (and available in the Atlas Scientific documentation linked in the Materials list)